The Hunter
Star Wars Fleet Battle Report #2
Greetings once again, avid readers! The Juggerhawk is back, ready to tell yet another tale through the wonders of Wargaming! For those of you just joining us, I recommend that you read my first Battle Report, as things will seem more clear afterwards. Otherwise, keep on reading, and enjoy the report!
Story: After his humiliating defeat against the Rebels, Kree has been tasked with hunting down the rebels who specifically destroyed the shipment. After some investigating, he learned that the remaining pilots had made a stop on a nearby planet, and were currently on the move. Kree and a small dispatch of Interceptors were sent to intercept and silence the 5 surviving pilots
Little did he know that Desmond Mil'k, the surviving leader of Blue Squadron, had made a call while on the planet. Knowing he was to be pursued, instead of heading directly to the Rebel Base, he would lead the Hunters to an isolated Asteroid field, where another X-Wing squad was in waiting.
_________________________________________________________________________________


Our two Rebel Heroes: Desmond Mil'k, surviving the Rebel slaughter from the last battle and wracking up a large TIE death count. He will be leading the forces of Blue Squadron.
John Cage, our hotshot leader of Yellow Squadron, has been tasked to assist in destroying the hunters.

 Captain Kree returns once again to put an end to the Rebels that embarrassed him in front of his superiors. He promises that, as long as he lives, he will not be embarrassed as such again.
He will be assisted by renown Interceptor pilot Fenn Ramus, the leader of the Royal Interceptors tasked with assisting Kree.


Here is the Battle Statistic Sheet. Just like last time, this shows all of the games contenders. This time, however, I left spaces in-between each of the sections to write down who shot down the pilot if he is killed. This cleared up a lot for me, as I now know who to blame for most of the kills in this game.

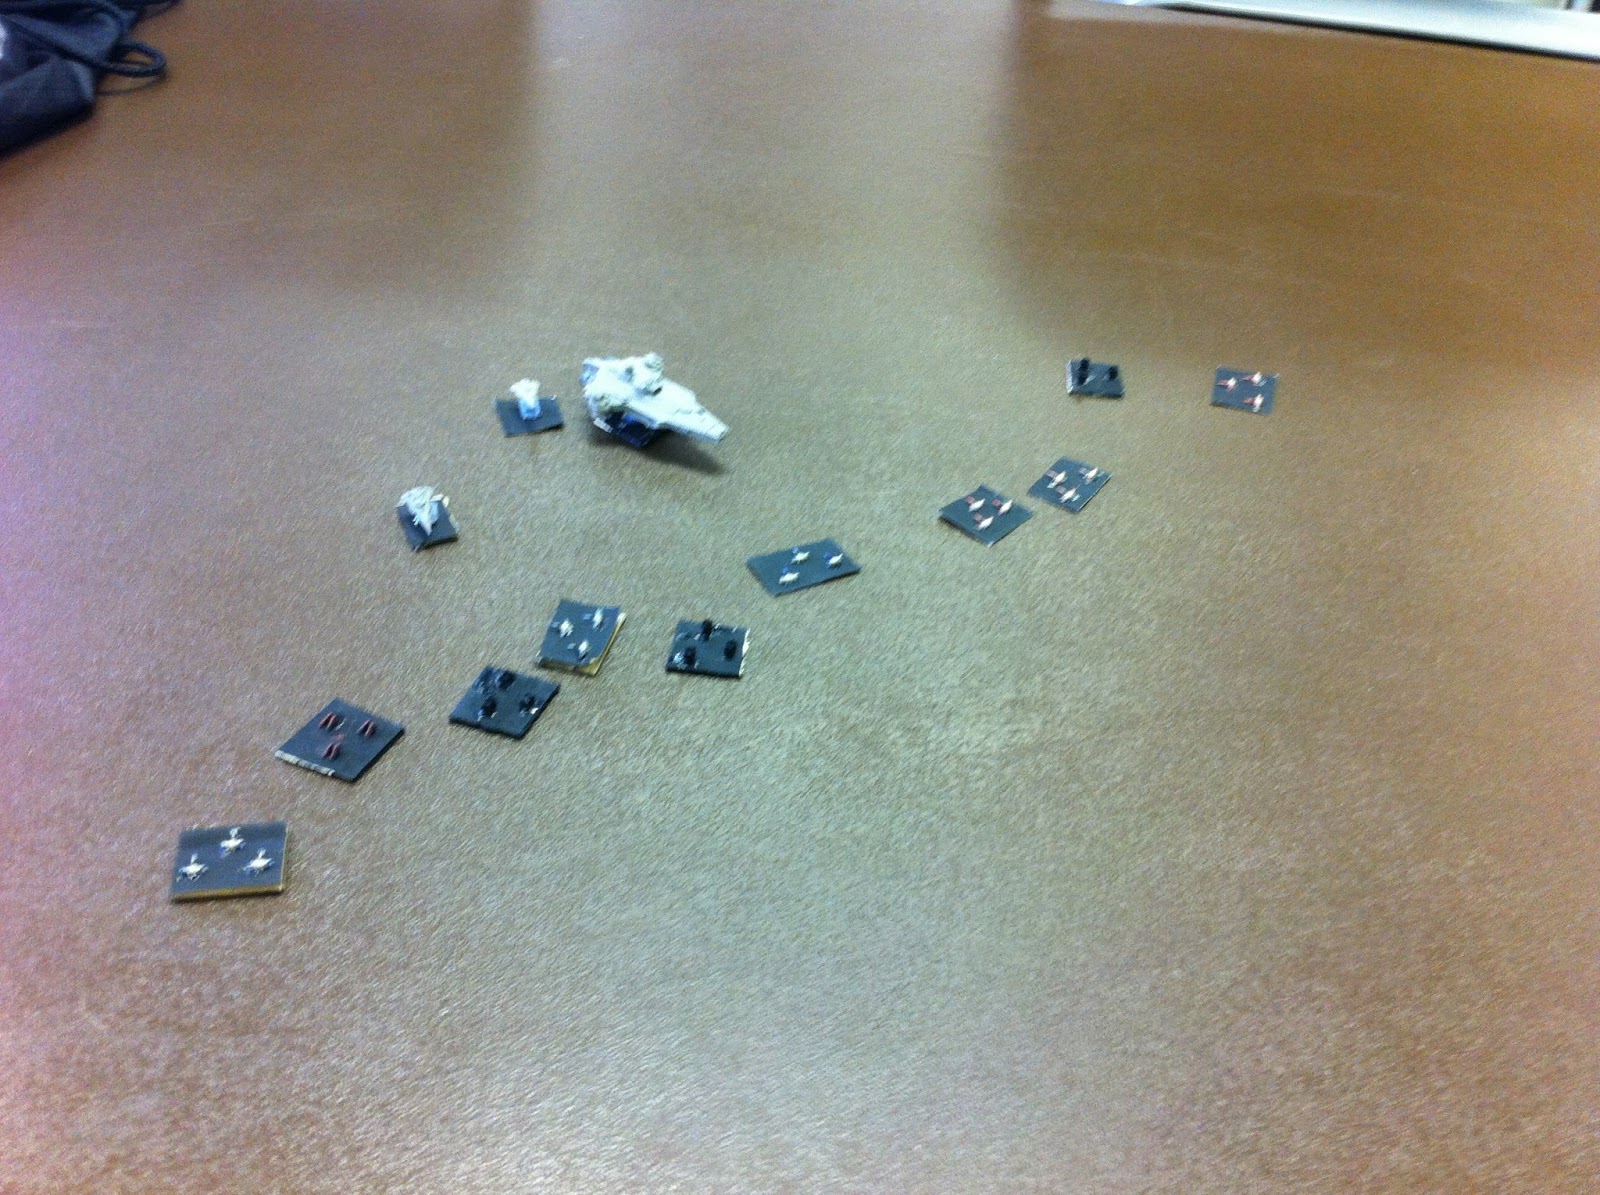
Here is the game board: Our 3 remaining squadrons fleeing into the asteroid belt away from the Imperial pursuers. On the other side of the asteroids is Yellow Squadron, lead by Yellow 1 (John Cage), ready to reinforce the rest of his Rebel group. Fleeing from the Imperials is Blue 1 (Desmond) and his remaining squad, along with Red 1 (Alex) and what is left of his squadron.


The Rebellion goes first, and uses their turn to maneuver through the asteroids. The plan, as demonstrated on their second turn (Right), is to regroup with Yellow Squadron, and then turn and face the enemy for an assault.


The Imperials first and second turn is to get their Interceptors to the Belt as quickly as possible: If they can at least secure it, they can pave a way for Kree to come in and deal some damage against the fighters.
 After the X-Wings had wheeled around, it would be Red 1 (Alex) who would deal the first kill of the game, which happened to be an incoming Black Squadron pilot.
This victory would be short lived, however, as a Royal Interceptor would cut down through Yellow 6 (Jasmine) in the next turn.

 The Interceptors strafe past the X-Wings, damaging a few ships, but not killing any more pilots. As the X-Wings turned to counterattack the interceptors, Red Squadron turns and continues on to Kree's approaching Frigate, and is able to knock out one of its shields.
 As they continue their assault on the frigate, however, the guns would prove to be too much as Red 3 (Ze) is killed. In the pic to the right, the string represents Blue 4 (Kallil) doing a strafe run past a Royal Unit, destroying one of the fighters.
At this point in the game, the fighting was completely taking place in the asteroid belt. Most of the X-Wing Squadrons were devoting their strength to destroying the fighters, while 3 X-Wing units were going out to take out Kree, who's frigate is looming just outside the belt and firing on stray fighters. Having to deal with those attacking his vessel, however, the Interceptors in the belt itself are on there own.


Blue 4 is able to wrack another kill as he takes out yet another Black Squadron interceptor, while a Royal Guard Unit is able to kill both Yellow 9 (Saloran) and 8 (Malari) in one fell strafe, ending the poor pilots lives in a flash of fire.

Kree, on top of killing Red 3, would also take down Red 2 (Spoon), which forces Red Leader to abandon his attacks on the Frigate in hopes of surviving the battle.

As of this point in the game, 6 of the 18 Rebel Pilots are dead, with most of them being killed by either the Royal Squadron or by Kree. However, the Imperials have also taken a black eye from the Rebels: 6 of their pilots are dead as well, along with Kree having lost some of his protection. The game could go either way at this point.

The first tragedy of the night would come as Kree fires and kill Blue 6 (Morag), one of the 5 survivors of the slaughter from the first game. The elite Blue Pilot was hit in the engine, before blowing up and sending her X-Wing into a spiraling mess of flames.


Desmond, in a rage, would attack and destroy a Royal Interceptor, bringing their number down to 3. The game was coming pretty close, and Kree began to feel nervous as his pilots died one by one.


Fenn Ramus, the leader of the Royal Interceptors, would be suddenly shot down by Yellow 4 (Forman). His death would further throw Kree into despair.
The game was still very close. With less than 5 Interceptors remaining, the only problem the Rebels had to face was Kree himself, still secure in his frigate. However, with the death of Ramus, the attention of the Rebels has now shifted to Kree, and avenging all the pilots he had mercilessly murdered in the last campaign.


Desmond, swooping over from the asteroids, fired upon the frigate, aiming for the shield generator. His sure aim would not only deplete what was left of Kree's shields, but also blow his Shield Generator,
Kree was now in a state of utter panic. His shields were depleted, and he couldn't get any more due to his generator being destroyed. The turrets on his Frigate were firing at all of the circling Rebels, knocking down one of Desmond's wingmen, Blue 3 (Zeban).


The final remnants of Black Squadron would be shot down thanks to Yellow 7 (Kubai) and Blue 4 (Kallil).


With all of the Interceptors destroyed, the only men remaining are Kree and his crew. Of the 10 dead Rebels, Kree has single-handedly killed 5 of them.


From behind the Cruiser, Yellow 4 (Forman) comes and fires a proton torpedo, hitting and disabling the ships engines. Now the ship is crippled, and cannot move. In an attempt to kill the leader, Kree fires at Desmonds unit, killing Blue 2 (Zelland) and nicking Blue 1 on the wing.

 In an effort to end the Cruisers terror, Blue 1 and Yellow 4 (Both the last remaining fighters in their unit), attack Kree's turrets, both scoring direct hits and destroying them. With only half of his firepower remaining, Kree can only sit and watch in dismay as Yellow 1 (Cage) fires a proton torpedo into the bridge, ending the Captains life.
And that wraps up the second Campaign Mission! While I had not originally intended to make Desmond my "Main Hero", him being able to survive each battle I put him in is just baffling, and thus why I keep labeling him as the elite leader. Of the 18 Rebel Pilots, only 6 Pilots survived, 3 from Blue Squadron and 3 from Yellow. None of the survivors from Red Squadron survived this battle. This makes Desmond, Kallil, and Mallani the sole survivors of the original slaughter.
When Kree never reported back in to Imperial Command on his hunt of the Rebels, Imperial Commander Maltra, along with Admiral Trens of the Imperial Navy were sent to investigate, only to find Kree had failed in his mission. While Imperial High Command was disturbed by this news, Commander Maltra stated that he would now be heading up investigations to destroy the Rebel Cell in that sector. He promised he would not fail as Kree had.
Next Time: The Rebel Cell has recieved word that an Imperial Transport has been disabled and abandoned in deep space. What made this news interesting, however, was the fact that the transport was rumored to carry the same strange materials that were in the original transports (In The Arms Race). Allied with another Rebel Cell, Desmond and Cage must find and recover the transport.
Little do they know that the Empire has a surprise in store for the unsuspecting Rebels.....